An introduction to Tmux
Feb 24, 2016 byDavid Farrell

Tmux is a terminal multiplexer: it like a power-up for terminal programming. You can manage several terminals under a session, split terminal screens, detach and re-attach sessions and much more. If you do most of your programming at the command line, you’ll find using a terminal multiplexer invaluable.
Setup
First you’ll need to install Tmux via your package manager or download it. Tmux is highly configurable but the first change I’d recommend is to ssh, not Tmux. Make ssh “keep alive” for all connections by adding this to ~/.ssh/config :
host * ServerAliveInternal 300 ServerAliveCountMax 3 If the file doesn’t exist, create it. This configuration instructs your local machine for all user ssh sessions to send a server alive message every 300 seconds to keep the ssh session alive. If the local machine sends 3 unanswered messages, it will disconnect the session. You should tweak these settings to suit your needs: for instance restricting the host to specific domains let’s you have different settings per domain. If you have a slow or unreliable internet connection, consider changing ServerAliveInternal to a lower number to send more frequent messages.
If you have permission on the servers you use, you can update them with a similar configuration, in /etc/ssh/sshd_config :
ClientAliveInterval 300 ClientAliveCountMax 3 The Prefix and One True Command™
Once Tmux is installed, start a new Tmux session from the command line:
$ tmux Ctrl-b is the prefix combination. Press the Ctrl key AND the letter b at the same time. When inside a Tmux session, the prefix is nearly always pressed before the shortcut key to trigger a command.
The prefix combination is really important. Once you get the hang of the prefix combination, you can pretty much bootstrap yourself into learning Tmux with just one command. To display a list of Tmux commands, type: Ctrl-b ?
That means press Control and b together, release, then press ? . Tmux should display:
bind-key C-b send-prefix bind-key C-o rotate-window bind-key C-z suspend-client bind-key Space next-layout bind-key ! break-pane bind-key " split-window bind-key # list-buffers bind-key $ command-prompt -I #S "rename-session '%%'" bind-key % split-window -h bind-key & confirm-before -p "kill-window #W? (y/n)" kill-window bind-key ' command-prompt -p index "select-window -t ':%%'" bind-key ( switch-client -p bind-key ) switch-client -n bind-key , command-prompt -I #W "rename-window '%%'" bind-key - delete-buffer bind-key . command-prompt "move-window -t '%%'" bind-key 0 select-window -t :0 bind-key 1 select-window -t :1 bind-key 2 select-window -t :2 bind-key 3 select-window -t :3 bind-key 4 select-window -t :4 bind-key 5 select-window -t :5 bind-key 6 select-window -t :6 bind-key 7 select-window -t :7 bind-key 8 select-window -t :8 bind-key 9 select-window -t :9 bind-key : command-prompt bind-key ; last-pane bind-key = choose-buffer bind-key ? list-keys bind-key D choose-client bind-key L switch-client -l bind-key [ copy-mode bind-key ] paste-buffer bind-key c new-window bind-key d detach-client bind-key f command-prompt "find-window '%%'" bind-key i display-message bind-key l last-window bind-key n next-window bind-key o select-pane -t :.+ You can also change the prefix combination (see the Config options section). If you do that, remember to use your prefix combination instead of Ctrl-b in the examples below.
Window control
Let’s look at a key Tmux feature: windows. They’re similar to tabs in browsers. Each one is a different terminal from where you can run different commands at the same time. To create a new window press Ctrl-b c . You can cycle between windows: Ctrl-b n for the next window and Ctrl-b p takes you to the prior window. Ctrl-b w list all windows in a session and let’s you select which one to active (using the arrow keys and enter).
If you know the window number you can also jump straight to it with Ctrl-b # replacing “#” with the window number. By default they begin at 0, not 1!
You might be wondering what’s the benefit of using Tmux windows over tabbed terminals. First, with regular terminals if the window manager crashes, you’ll lose the terminals as well. This won’t happen with Tmux: it will keep the terminals running in the background and you can re-attach a new terminal to them at any time. Windows can also be subdivided into panes, all running pseudo-terminals. Let’s look at them now.
Pane control
Panes are great. You can split a window horizontally, vertically and with any dimensions you like. Recently I was processing a huge set of data; I arranged my Tmux window with 3 panes running the data processing and 1 pane monitoring the server resources with htop . This server is almost overloaded:

These are the key pane controls:
Ctrl-b " split pane horizontally Ctrl-b % split pane vertically Ctrl-b o next pane Ctrl-b ; prior pane Ctrl-b ←↑→↓ jump to pane Ctrl-b Ctrl-o swap panes Ctrl-b space arrange panes Ctrl-b-←↑→↓ change pane size Ctrl-b ! pop a pane into a new window The arrows ←↑→↓ represent the arrow keys, just use one of these. For example to jump to a pane on the right, you’d press Ctrl-b → . The change pane size controls are a little different. To make that work you first have to have more than one pane. Next press Ctrl-b and keep the control key held down. Now you can repeatedly press an arrow key to change the pane size.
Ctrl-b ! is one of my favorite features. It pops the current pane out of the window and moves it to its own window. This is wonderful if you find yourself doing some unrelated activity in one pane and want to re-organize them.
Scrolling and copy/paste
If you can master scrolling and copy/paste in Tmux, you can master anything. I won’t lie, this is the clunkiest feature. But it’s really useful. The interface is modal, so start by entering scroll mode:
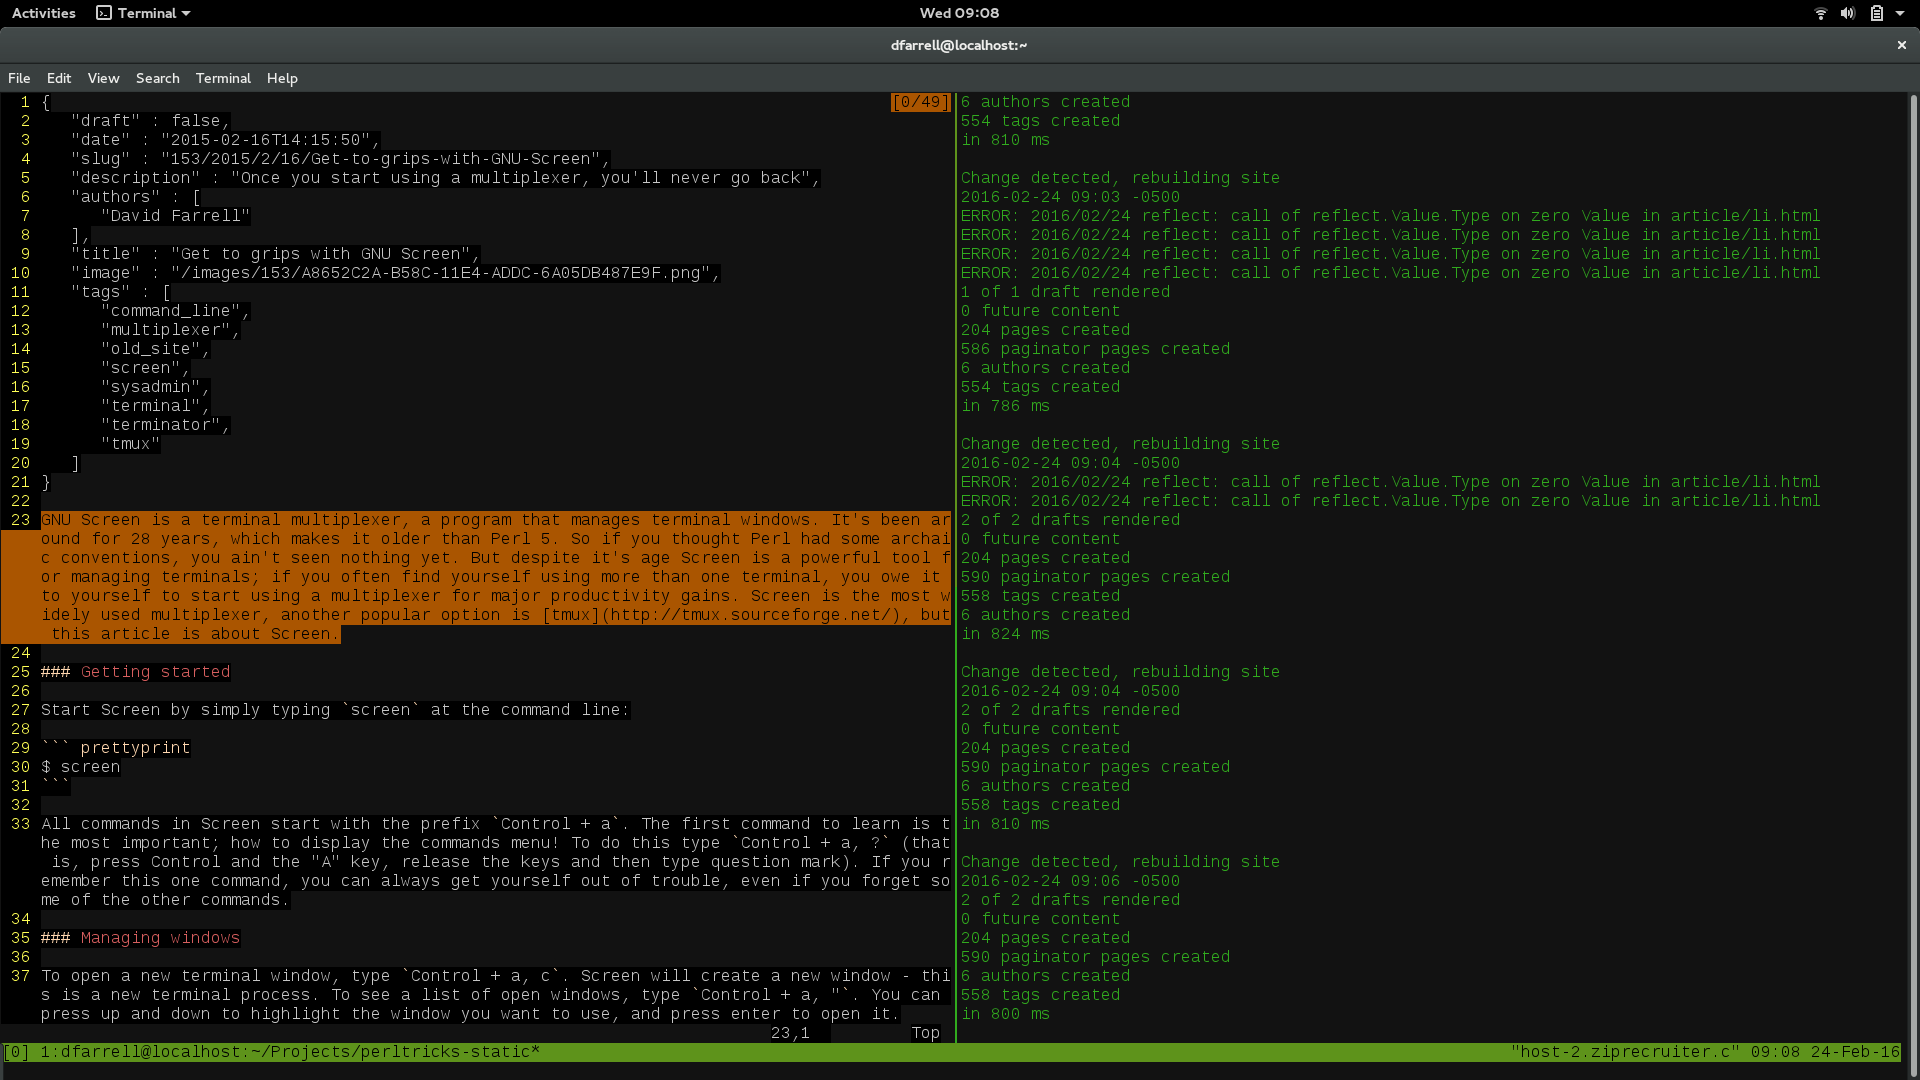
Ctrl-b [ . Pressing esc will exit scroll mode. You should know you’re in scroll mode because an orange line count appears in the top-right corner of the pane.
Once you’re in scroll mode, you can move the cursor using the arrow keys and page up and down. By default Tmux doesn’t retain much history, but you can change that (see config).
You can copy and paste in scroll mode. This is useful when you have split screens as a regular highlight and copy using the mouse won’t work across vertically split panes.

To copy, position the cursor where you want to start copying. Press Ctrl-space to begin highlighting the text to copy. Press Alt-w to copy the highlighted text. Pressing Ctrl-b ] will paste the copied text. There are ways to make copy and paste easier: Tmux has a “vim like” copy mode (see the Config options section).

Session control
Sessions are one of the most useful features of Tmux. They let you group multiple terminal processes into a single Tmux session which can be worked on (attached), put into the background (detached) and discarded as you see fit. Programmers will often have different sessions for different projects or clients. Because Tmux operates under a client-server architecture, even if the original terminal that started Tmux dies or your desktop GUI crashes, the Tmux session will be preserved, along with all of the terminal sessions in it.
Detach your Tmux session with Ctrl-b d . This will return you to a regular terminal prompt.
To list existing Tmux sessions just use the ls command:
$ tmux ls 0: 1 windows (created Thu Jan 28 08:15:20 2016) [190x50] (attached) 2: 2 windows (created Thu Jan 28 09:11:59 2016) [190x50] This shows that I have two Tmux sessions running, one of which is attached to a Terminal window already. To attach to a session just use the attach command at the terminal prompt:
$ tmux attach By default Tmux attaches to the next unattached session (“2”) in this case. If I have many different sessions and want to attach to a particular one, I can specify it with -t for target:
$ tmux attach -t 2 Config options
The file ~/.tmux.conf is a plaintext file used by Tmux for local config. This example config file shows some common options:
# set scroll history to 10,000 lines set-option -g history-limit 10000 # modern encoding and colors set -g utf8 on set-window-option -g utf8 on set -g default-terminal screen-256color # unbind the prefix and bind it to Ctrl-a like screen unbind C-b set -g prefix C-a bind C-a send-prefix # use zsh instead of bash set -g default-command /bin/zsh set -g default-shell /bin/zsh /`/`/` # enable vi-like copy/paste set-window-option -g mode-keys vi To reload your .tmux.conf within a Tmux session, type: Ctrl-b : then source-file ~/.tmux.conf . These are just example settings - you should tweak them to suit your preferences.
Tmux resources
The official Tmux website is a good starting point with summary information, a changelog, downloads and a link to the extensive man page . The Arch Linux tmux documentation covers advanced features and troubleshooting tips. The book tmux - Productive Mouse-Free Development by Pragmatic Bookshelf is thorough introduction to Tmux.
GNU Screen is another terminal multiplexer program. It’s older than Tmux and a little bit crufty, but it has most of the features Tmux has. The controls for Screen and Tmux are similar enough that if you know one of them you can get by using the other. The Tmux FAQ lists the differences between them.


![[HBLOG]公众号](https://www.liuhaihua.cn/img/qrcode_gzh.jpg)

