Xcode ToolChain 常用功能
一般来说,我们都是使用Xcode去开发我们的原生iOS App,当然,你也可以选择 AppCode ,或者一些我不了解的诡异方法。
Xcode是一款强大的GUI IDE,它提供了各种复杂功能,而这背后,是一些命令行工具在支撑着这个强大的IDE。
xcodebuild
顾名思义,这就是一个命令行的Xcode编译工具。
我在Github上放了一个我以前使用的 iOS多渠道打包脚本 ,里面使用到了 xcodebuild 。这是我在脚本里面的用法:
xcodebuild clean xcodebuild -sdk iphoneos -configuration Release xcodebuild -sdk iphonesimulator8.3 -configuration Debug xcodebuild 包含大量功能,在终端输入 xcodebuild --help 可以查看。
我们这只说几种常见的:
-
指定编译粒度
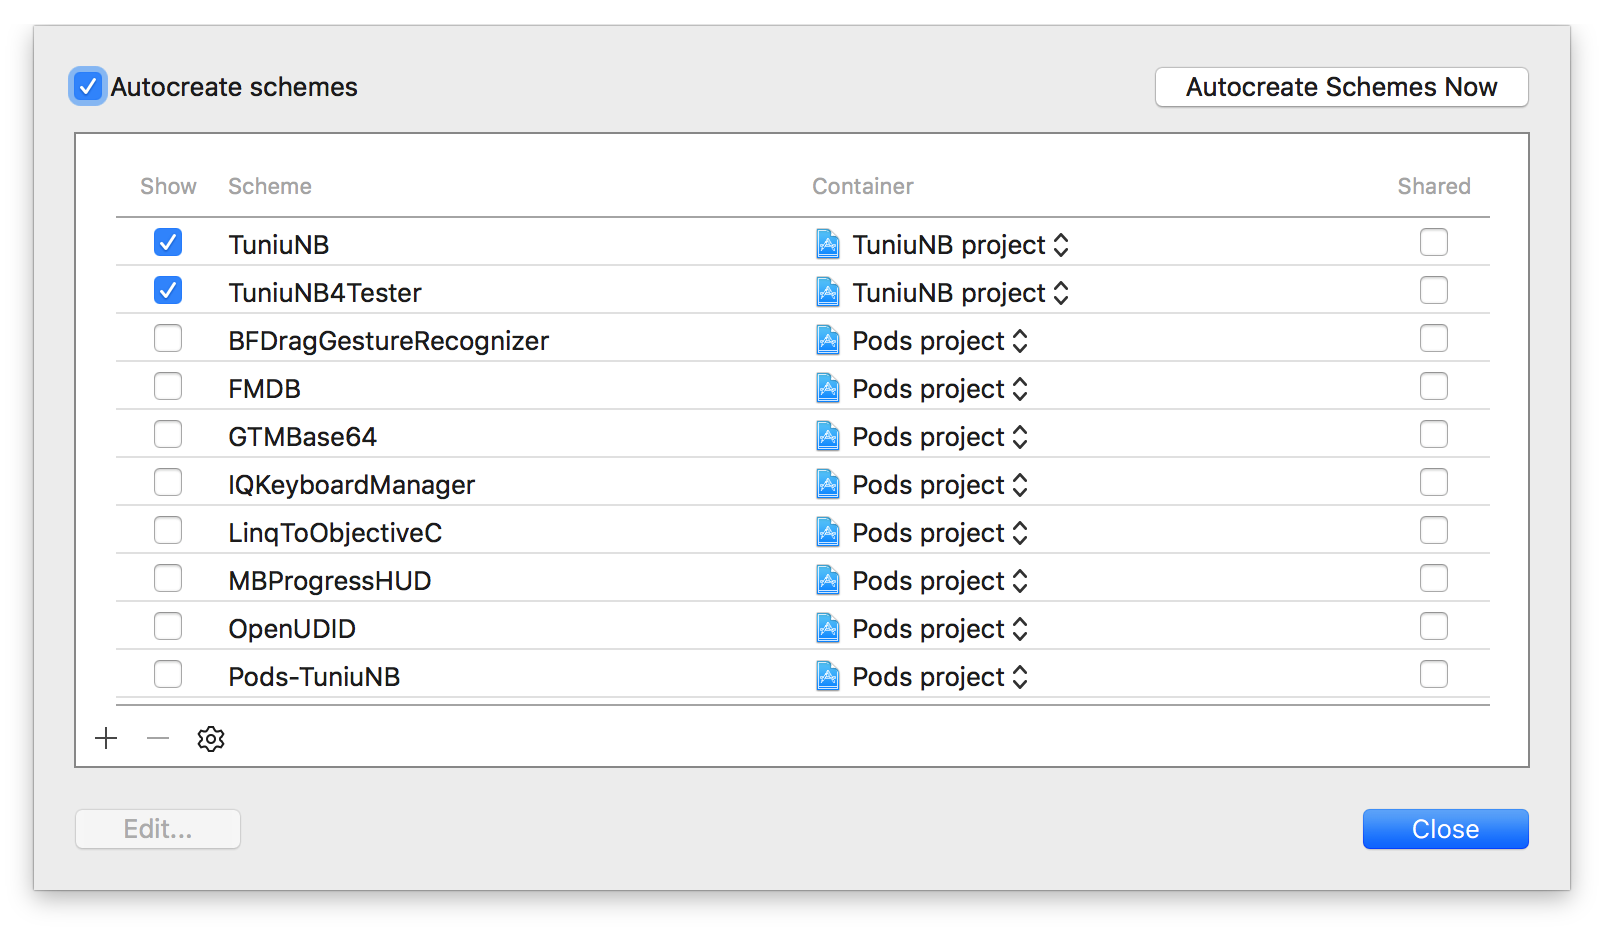
xcodebuild允许指定编译粒度。现在的工程有一个workspace、多个project、多个target、多个scheme是很正常的一件事情。那么在持续集成,或者批量打包的情况下,我们会使用xcodebuild去编译。一般来说,我们会指定编译粒度,比如:xcodebuild -workspace TuniuNB.xcworkspace / -target TuniuNB4Tester xcodebuild -project TuniuNB.xcodeproj / -target TuniuNB4Tester xcodebuild -project TuniuNB.xcodeproj / -scheme "TuniuNB"对应Xcode中这里的配置:

-
指定编译的SDK版本
xcodebuild -sdk iphoneos xcodebuild -sdk iphonesimulator9.3 -
指定编译配置(configuration)
xcodebuild -configuration Debug xcodebuild -configuration Release对应Xcode中这里的配置:

-
运行单元测试
xcodebuild test -scheme <your_scheme_name> -destination destinationspecifier好吧,我不写单元测试。
-
clean
删除编译的中间文件和products。
xcode-select
一般来说,我们都只装有一个Xcode,但是在有些情况下,我会装两个Xcode。
-
Xcode大版本测试版
iOS8测试版刚出来的时候,我们的老版App存在一些兼容问题,所以我们不得不在一个Beta版本的Xcode上进行测试,以提前解决这些兼容问题,同时我们也要在正式版本的Xcode上进行开发和发布。
-
Xcode版本升级
经过Xcode Ghost事件之后,苹果变得很谨慎,要求编译App的Xcode版本一定要来自Mac App Store,或者一些版本可以来自Apple的开发者中心。从此之后,我就只能在Mac App Store上升级Xcode了。
Mac App Store升级Xcode的时候,会占用Xcode,使得Xcode不可用,而同时升级时间又是比较漫长的(可能你网速快)。当然,你可以闲着看网页,或者如果你有两个Xcode的话,你会发现,它只会占用你的”Xcode 2”,你的主力Xcode在它安装之前一直是可用的。
如果你想校验你的Xcode版本是否有效,可以直接在终端输入:
spctl --assess --verbose /Applications/Xcode.app然后,参考苹果的这篇文章: Validating Your Version of Xcode
-
App上传
当年在Xcode6刚上来的时候,我每次通过Xcode6上传包,总是不成功,但是Xcode5.1.1就能直接上传成功。我也没去探究原因,所以在Xcode6.1之前,一直是使用Xcode6打包,再用Xcode5.1.1进行上传的。当然,现在没有这种问题了。
如果你的Mac中有多个Xcode,而你又想切换默认的Xcode打包的编译版本的话,可以使用 xcode-select 。
基本用法如下:
Usage: xcode-select [options] Options: -h, --help print this help message and exit -p, --print-path print the path of the active developer directory -s <path>, --switch <path> set the path for the active developer directory --install open a dialog for installation of the command line developer tools -v, --version print the xcode-select version -r, --reset reset to the default command line tools path xcode-select 主要用来打印和改变 Xcode command line tools 的默认开发目录。可以配合上面说到的 xcodebuild 工具一起使用。
切换之前的目录:

切换之后的目录:

xcrun
xcrun 是Xcode命令行中一个基础性的工具,它可以调用其他工具,比如上面说到的 xcode-select :

基本用法如下:
-h, --help show this help message and exit --version show the xcrun version -v, --verbose show verbose logging output --sdk <sdk name> find the tool for the given SDK name --toolchain <name> find the tool for the given toolchain -l, --log show commands to be executed (with --run) -f, --find only find and print the tool path -r, --run find and execute the tool (the default behavior) -n, --no-cache do not use the lookup cache -k, --kill-cache invalidate all existing cache entries --show-sdk-path show selected SDK install path --show-sdk-version show selected SDK version --show-sdk-platform-path show selected SDK platform path --show-sdk-platform-version show selected SDK platform version 我在 iOS多渠道打包脚本 中主要用 xcrun 在 xcodebuild 编译完后进行打包和导出.ipa,这是我在脚本中的用法:
xcrun -sdk iphoneos PackageApplication -v ArcTest.app -o ArcTest.ipa 市面上的类似一键导出ipa包的Xcode插件很多都是用这种方式,比如 AMAppExportToIPA 。当然也有不是这么干的: IpaExporter 。
otool
otool 可以输出一些库和可执行文件的文件信息,其中包含大量功能,我这里提几种我曾经用到的,其他的可以查看帮助信息( otool -h )。
-
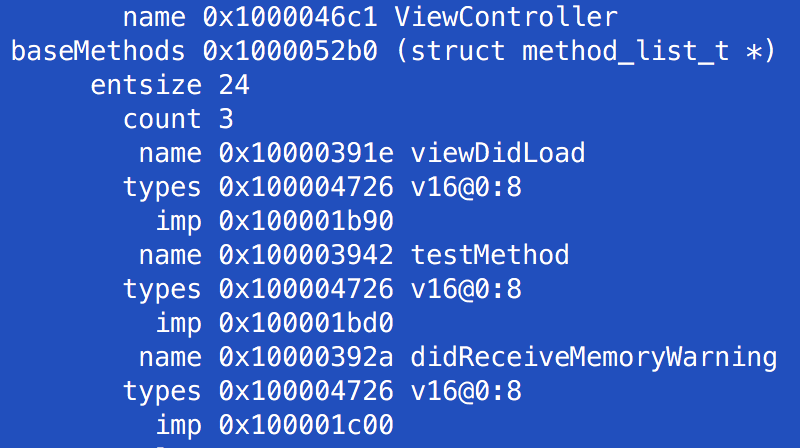
获取方法名 比如,
TuniuNB4Tester是一个标准的iOS App包中的可执行文件(未经苹果处理的),在命令行直接输入:otool -o TuniuNB4Tester可以直接获得可执行文件上的方法名:
-
获取使用到的系统库
otool -L可以获取到可执行文件上使用到的系统库: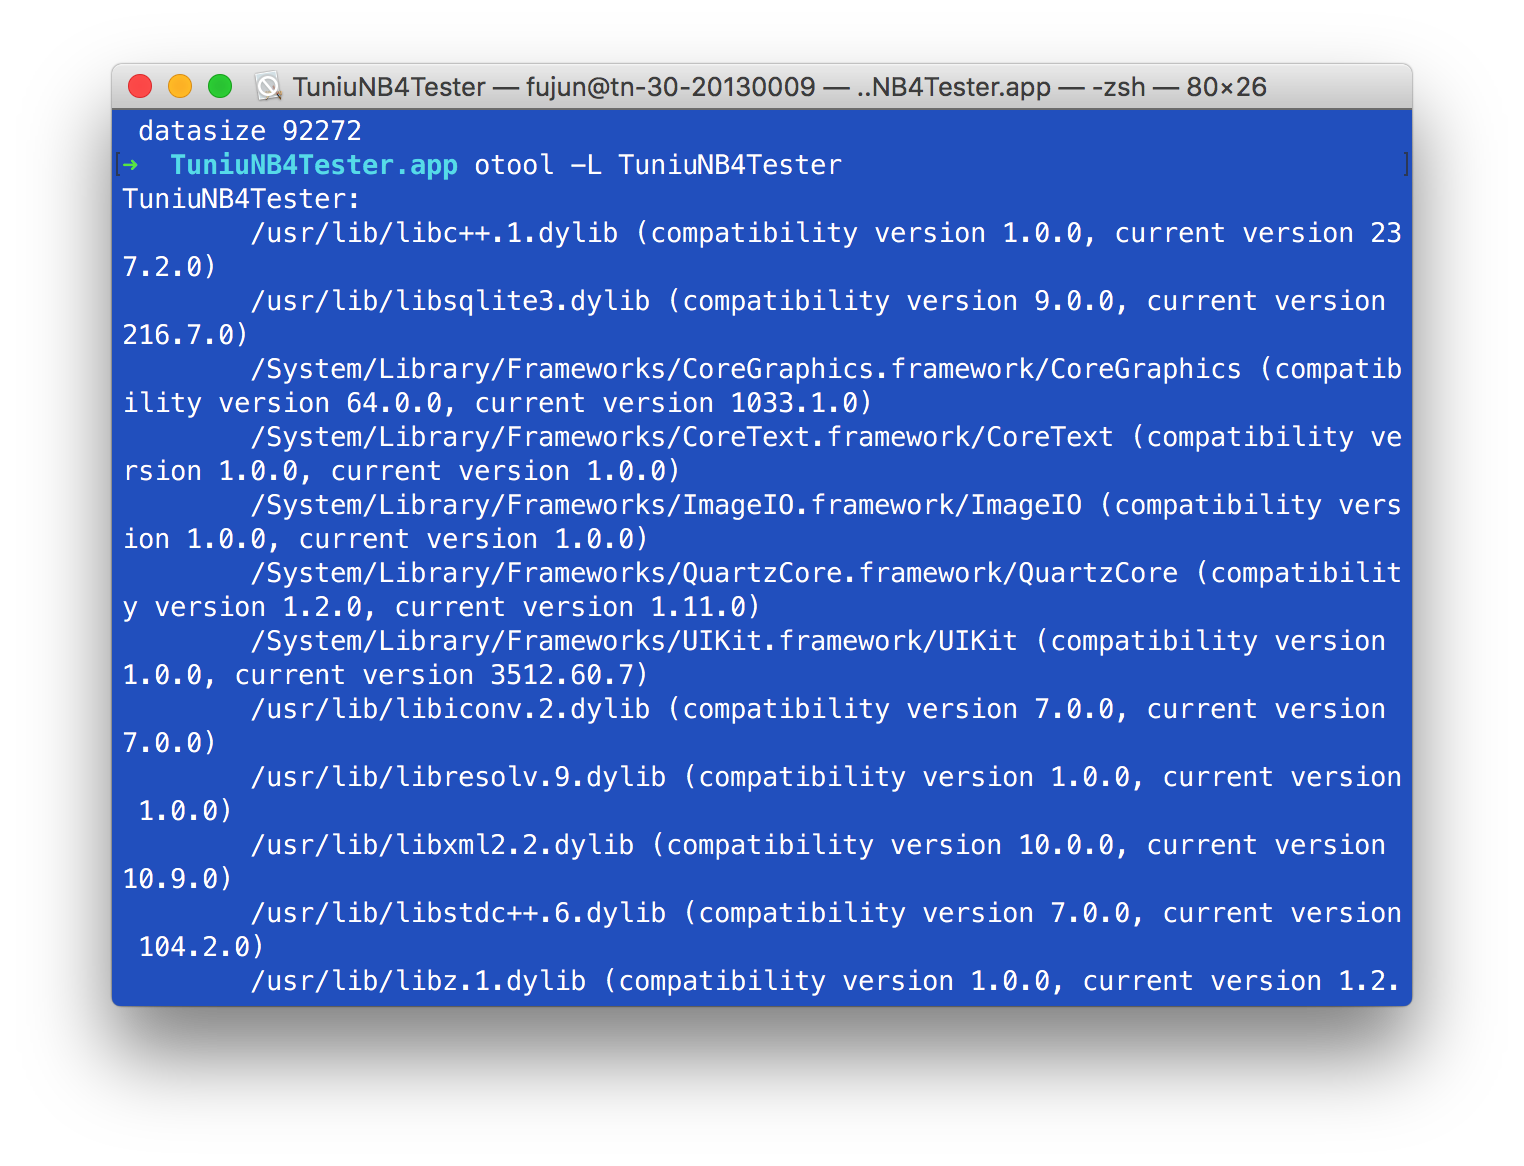
-
获取程序汇编码
otool -tV可以获取到可执行文件的汇编码。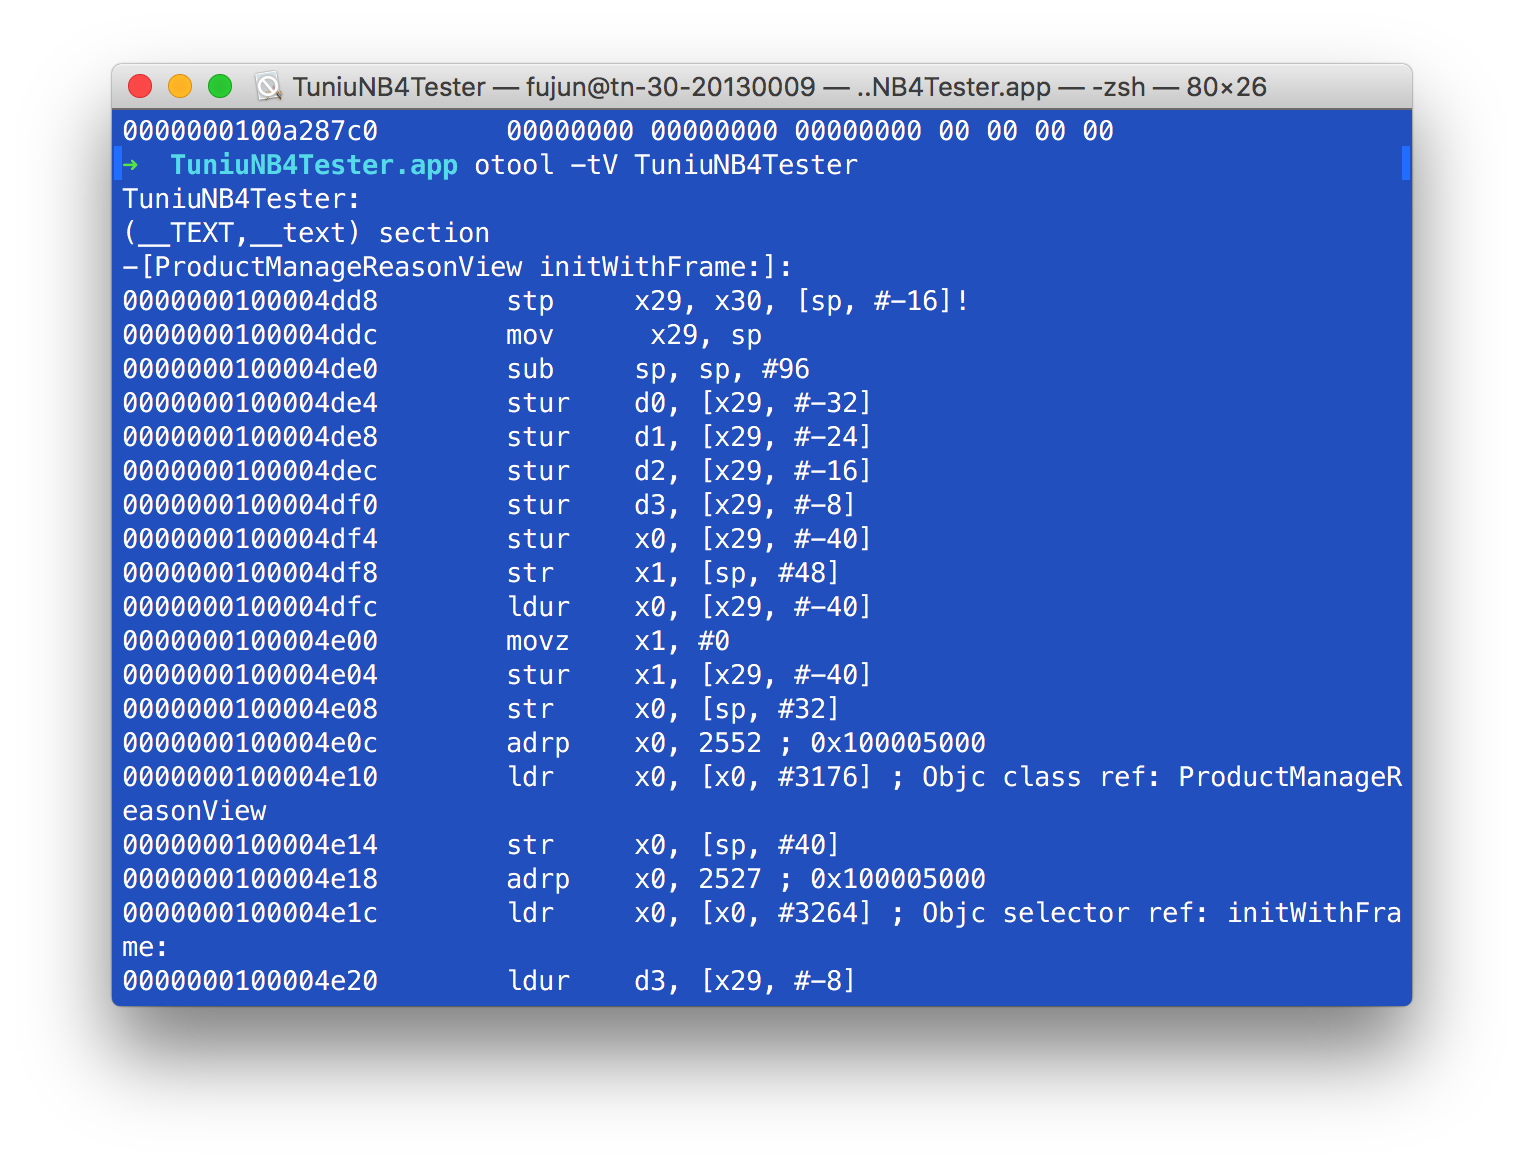
headerdoc2html
headerdoc2html 可以从符合规范的代码注释中生成对应的HTML文档。效果类似于苹果自身的文档:
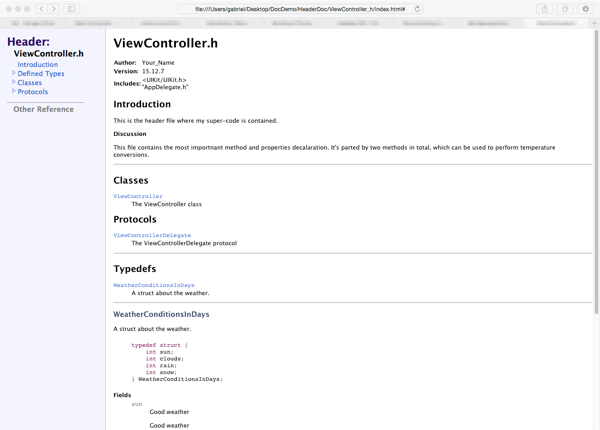
那么,什么样的注释才能被 headerdoc2html 支持呢?你可以参考这篇文章:
http://www.cocoachina.com/ios/20150629/12298.html
VVDocumenter 默认的代码风格是不支持生成这种文档的,但是 VVDocumenter 支持自定义注释模板,你可以调整到 headerdoc2html 支持的模式。
参考文档
- https://developer.apple.com/library/mac/documentation/Darwin/Reference/ManPages/man1/xcodebuild.1.html
- https://developer.apple.com/library/ios/technotes/tn2339/_index.html
- https://developer.apple.com/library/mac/documentation/Darwin/Reference/ManPages/man1/headerdoc2html.1.html
- http://www.cocoachina.com/ios/20150629/12298.html


![[HBLOG]公众号](https://www.liuhaihua.cn/img/qrcode_gzh.jpg)

