前言: 首先你要明白, 这种集成三方的东西, 都非常简单,可能会有坑, 填上就好, 这篇文章以微博为例, 其实都是一样的. 步骤或繁或简单, 习惯就好.
1. 首先在微博开放平台注册成为开发者http://open.weibo.com
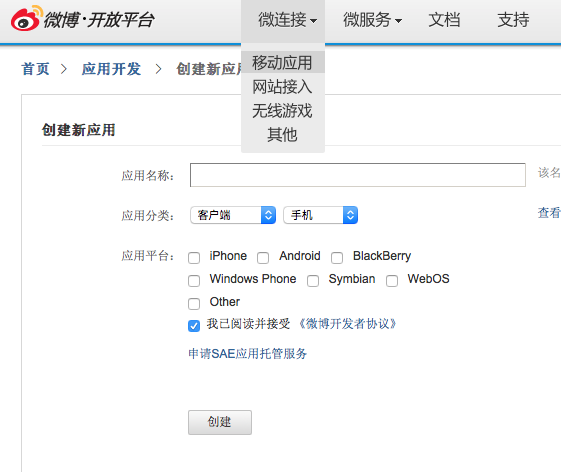
2. 创建应用

3. 完善应用信息, 这里需要注意的是Bundle ID需要与应用一致, 同时记录appKey 项目中会用到
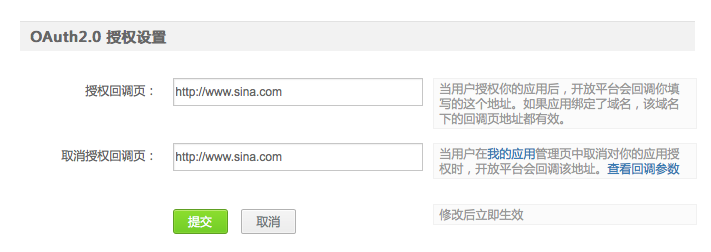
4. 在应用信息-高级信息中


与上方的保持一致---这段代码后面后使用到
5. 填写URL Types

6. 配置info.plist同时加入白名单

<array> <string>sinaweibohd</string> <string>sinaweibo</string> <string>weibosdk</string> <string>weibosdk2.5</string> </array> 7. 导入SDK.
7.1 使用cocoapods你可以这样
pod "WeiboSDK", :git => "https://github.com/sinaweibosdk/weibo_ios_sdk.git" 7.2 或者直接下载拖入工程
8. 代码
// AppDelegate中 #import <WeiboSDK.h> #define WB_iOS_Key @"" @interface AppDelegate ()<WeiboSDKDelegate> /** * 1. 设置WeiboSDK的调试模式 * 2. 注册 */ [WeiboSDK enableDebugMode:YES]; [WeiboSDK registerApp:WB_iOS_Key]; #pragma mark - WeiboSDKDelegate - (void)didReceiveWeiboRequest:(WBBaseRequest *)request { } // 根据自己的需求写回调 // 这是微博Demo提供的代码 - (void)didReceiveWeiboResponse:(WBBaseResponse *)response { if ([response isKindOfClass:WBSendMessageToWeiboResponse.class]) { NSString *title = NSLocalizedString(@"发送结果", nil); NSString *message = [NSString stringWithFormat:@"%@: %d//n%@: %@//n%@: %@", NSLocalizedString(@"响应状态", nil), (int)response.statusCode, NSLocalizedString(@"响应UserInfo数据", nil), response.userInfo, NSLocalizedString(@"原请求UserInfo数据", nil),response.requestUserInfo]; WBSendMessageToWeiboResponse* sendMessageToWeiboResponse = (WBSendMessageToWeiboResponse*)response; NSString* accessToken = [sendMessageToWeiboResponse.authResponse accessToken]; if (accessToken) { self.wbtoken = accessToken; } NSString* userID = [sendMessageToWeiboResponse.authResponse userID]; if (userID) { self.wbCurrentUserID = userID; } } else if ([response isKindOfClass:WBAuthorizeResponse.class]) { NSString *title = NSLocalizedString(@"认证结果", nil); NSString *message = [NSString stringWithFormat:@"%@: %d//nresponse.userId: %@//nresponse.accessToken: %@//n%@: %@//n%@: %@", NSLocalizedString(@"响应状态", nil), (int)response.statusCode,[(WBAuthorizeResponse *)response userID], [(WBAuthorizeResponse *)response accessToken], NSLocalizedString(@"响应UserInfo数据", nil), response.userInfo, NSLocalizedString(@"原请求UserInfo数据", nil), response.requestUserInfo]; UIAlertView *alert = [[UIAlertView alloc] initWithTitle:title message:message delegate:nil cancelButtonTitle:NSLocalizedString(@"确定", nil) otherButtonTitles:nil]; self.wbtoken = [(WBAuthorizeResponse *)response accessToken]; self.wbCurrentUserID = [(WBAuthorizeResponse *)response userID]; self.wbRefreshToken = [(WBAuthorizeResponse *)response refreshToken]; [alert show]; } } - (BOOL)application:(UIApplication *)application openURL:(NSURL *)url sourceApplication:(NSString *)sourceApplication annotation:(id)annotation { return [WeiboSDK handleOpenURL:url delegate:self]; } - (BOOL)application:(UIApplication *)application handleOpenURL:(NSURL *)url { return [WeiboSDK handleOpenURL:url delegate:self ]; } 9. 写个登陆按钮登陆
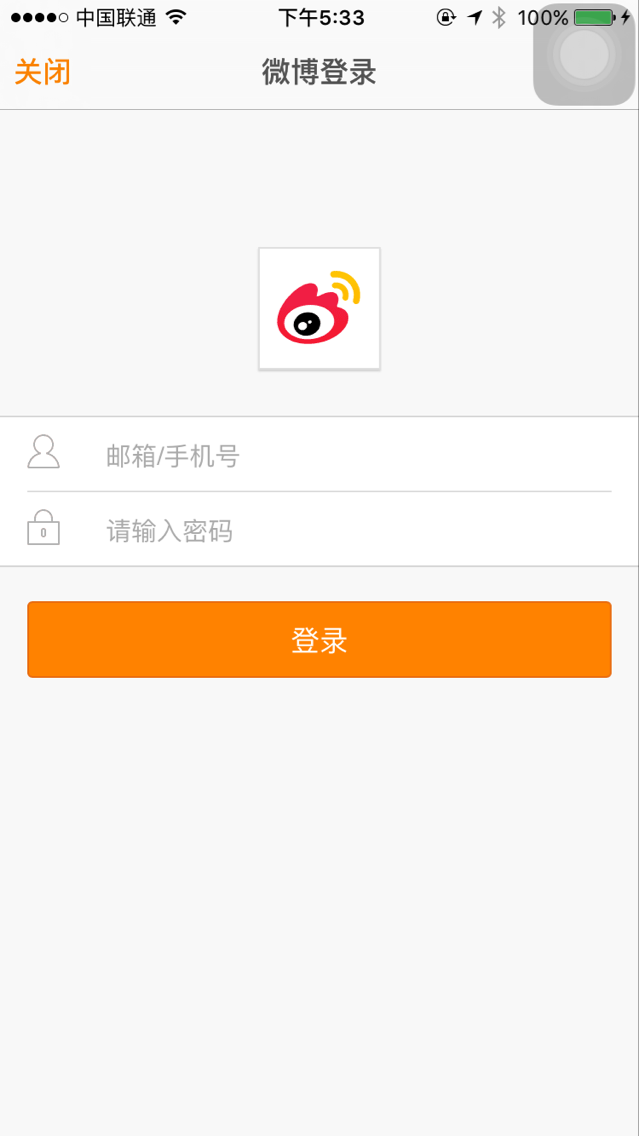
- (void)loginClick { [[[[UIApplication sharedApplication] delegate] window] makeKeyWindow]; WBAuthorizeRequest *request = [WBAuthorizeRequest request]; // 前面提到的 request.redirectURI = kRedirectURI; request.scope = @"all"; request.userInfo = @{@"SSO_From": @"SendMessageToWeiboViewController", @"Other_Info_1": [NSNumber numberWithInt:123], @"Other_Info_2": @[@"obj1", @"obj2"], @"Other_Info_3": @{@"key1": @"obj1", @"key2": @"obj2"}}; [WeiboSDK sendRequest:request]; } 10. 完成图


状态0 代表成功. 如果回忆没有错基本就成功了. O.-
来自:http://www.jianshu.com/p/b8b0e085b074


![[HBLOG]公众号](https://www.liuhaihua.cn/img/qrcode_gzh.jpg)

