SpringBoot定时任务
前言
我们在编写Spring Boot应用中经常会遇到这样的场景,比如:我需要定时地发送一些短信、邮件之类的操作,也可能会定时地检查和监控一些标志、参数等。(或者在张健博客定时刷一波评论(笑.jpg))

创建定时任务
在Spring Boot中编写定时任务是非常简单的事,下面通过实例介绍如何在Spring Boot中创建定时任务,实现每过5秒输出一下当前时间。
-
在Spring Boot的主类中加入
@EnableScheduling注解,启用定时任务的配置/**
* 开启定时任务
*/
@SpringBootApplication
@EnableScheduling
public class GeccoApplication {
public static void main(String[] args) {
SpringApplication.run(GeccoApplication.class, args);
}
}
-
创建定时任务实现类
方法注解@Scheduled
@Scheduled(fixedDelay = 10000)
public void schedule() {
  Stopwatch started = Stopwatch.createStarted();
  int id = 26;
  while (id > 0) {
  Futures.addCallback(guavaExecutor.submit(new Crawler(Integer.toString(id))), new FutureCallback<String>() {
  @Override
  public void onSuccess(String result) {
  System.out.println("任务结果:" + result);
  }

  @Override
  public void onFailure(Throwable t) {
  System.out.println("任务异常:" + t.getMessage());
  }
 }, executor);
  id--;
  }
  started.elapsed(TimeUnit.MILLISECONDS);
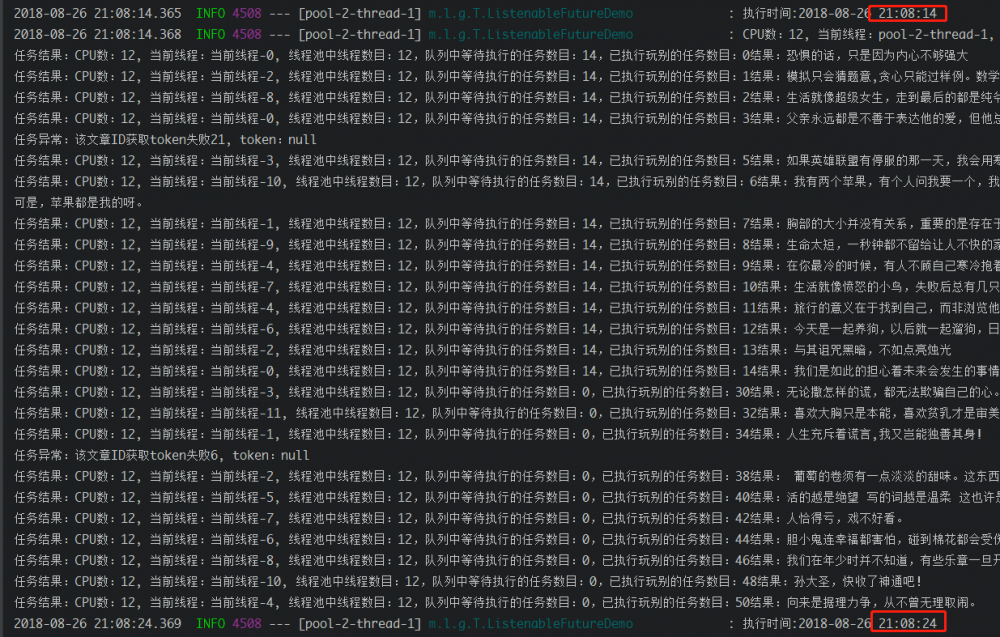
  LOGGER.info("执行时间:{}", dateFormat.format(new Date(System.currentTimeMillis())));
  String s = "CPU数:" + PROCESSORS + ", 当前线程:" + Thread.currentThread().getName() + ", 线程池中线程数目:" + executor.getPoolSize() + ",队列中等待执行的任务数目:" +
  executor.getQueue().size() + ",已执行玩别的任务数目:" + executor.getCompletedTaskCount();
  LOGGER.info(s);
}
测试


是不是很棒,很简单丫 
第一次加载延迟指定时间后执行
第一次延迟30执行,之后按fixedRate的规则每10秒执行一次
@Scheduled(initialDelay = 30000,fixedDelay = 10000)

@Scheduled详解
在上面的入门例子中,使用了 @Scheduled(fixedRate = 5000) 注解来定义每过5秒执行的任务,对于 @Scheduled 的使用可以总结如下几种方式:
@Scheduled(fixedRate = 5000)
@Scheduled(fixedDelay = 5000)
@Scheduled(initialDelay=1000, fixedRate=5000)
@Scheduled(cron="*/5 * * * * *")
正文到此结束
热门推荐
相关文章
Loading...


![[HBLOG]公众号](https://www.liuhaihua.cn/img/qrcode_gzh.jpg)

