『互联网架构』软件架构-nginx(上)(19)
今天说说nginx, 其实有老铁比较奇怪,nginx不是运维来搞的吗?确实是的,大部分情况下,公司比较大的话,存在运维的话,这个锅肯定是运维来做的。但是现在有个趋势叫devops之前我也说过,开发运维一体化,开发也要懂一定的运维知识。在一些互联网的创业公司刚开始技术的工种,并不是分的那么清楚,可能都要会的。环境的搭建,运维,框架搭建,开发都必须拿得下来。
源码:https://github.com/limingios/netFuture/tree/master/nginx

Nginx服务搭建与基础演示(一)
Nginx
-
官网
>http://nginx.org/
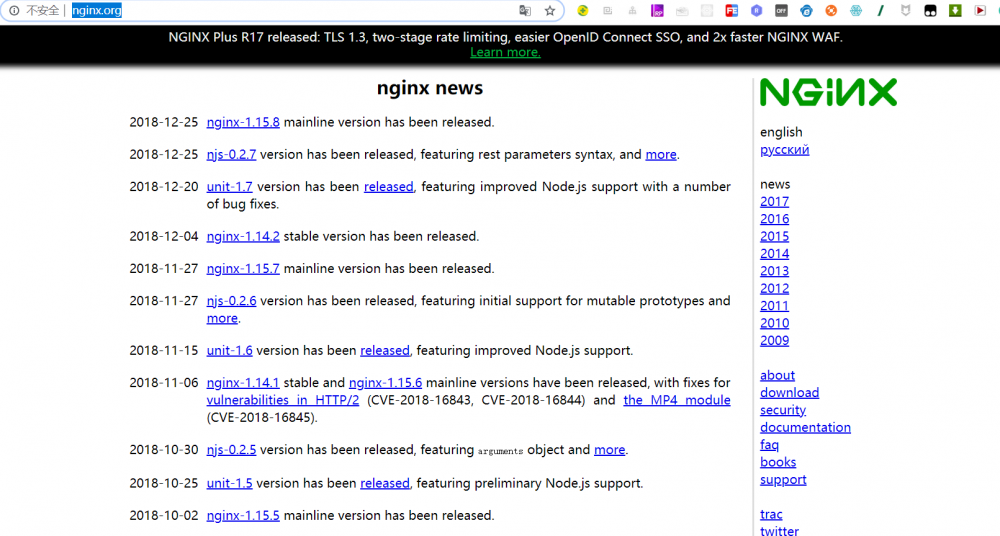
- 介绍
Nginx是一个轻量级、高性能、稳定性高、并发性好的HTTP和反向代理服务器。也是由于其的特性,其应用非常广。
- 历史
由俄罗斯的程序设计师Igor Sysoev所开发,最初供俄国大型的入口网站及搜寻引擎Rambler(俄文:Рамблер)使用。 其特点是占有内存少,并发能力强,事实上nginx的并发能力确实在同类型的网页伺服器中表现较好.目前中国大陆使用nginx网站用户有:新浪、网易、 腾讯,另外知名的微网志Plurk也使用nginx。
- 理解代理的概念
1.正向代理:某些情况下,代理我们用户去访问服务器,需要用户手动的设置代理服务器的ip和端口号。
2.反向代理:是用来代理服务器的,代理我们要访问的目标服务器。代理服务器接受请求,然后将请求转发给内部网络的服务器(集群化),并将从服务器上得到的结果返回给客户端,此时代理服务器对外就表现为一个服务器。
- 根据源码配置的机器

| 系统类型 | IP地址 | 节点角色 | CPU | Memory | Hostname |
|---|---|---|---|---|---|
| Centos7 | 192.168.66.110 | nginx | 1 | 2G | nginx |
| Centos7 | 192.168.66.111 | tomcat | 1 | 2G | tomcat1 |
| Centos7 | 192.168.66.112 | tomcat | 1 | 2G | tomcat2 |
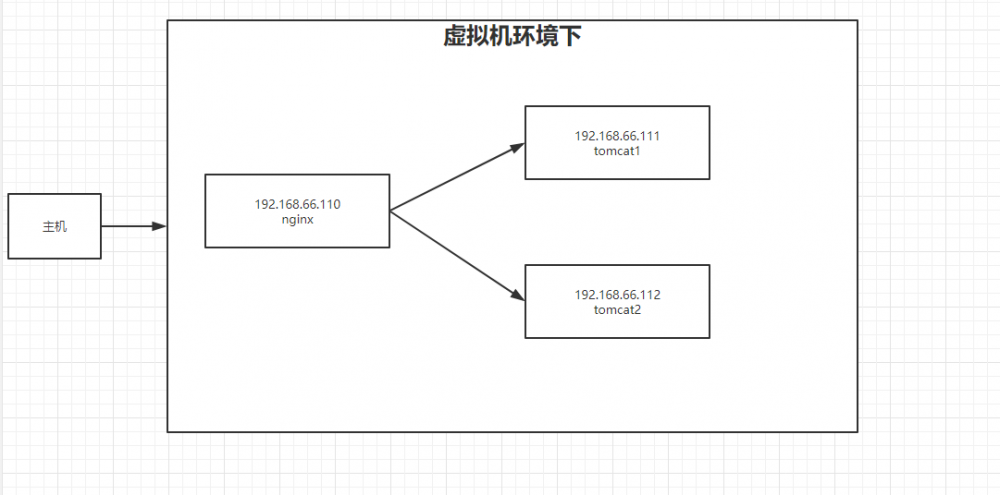
-
三台机器
>准备工作
yum -y install make zlib zlib-devel gcc-c++ libtool openssl openssl-devel


-
nginx主机安装pcre的安装包(192.168.66.110)
> https://sourceforge.net/projects/pcre/files/pcre/
nginx rewrite依赖于PCRE库,所以需要在linux系统中编译安装PCRE库
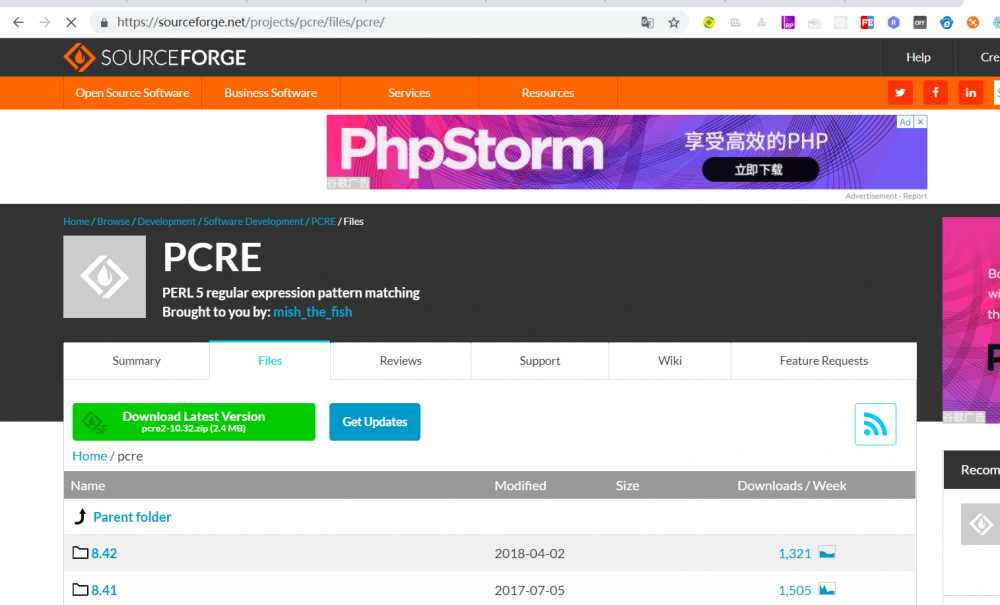
wget https://nchc.dl.sourceforge.net/project/pcre/pcre/8.41/pcre-8.41.tar.gz
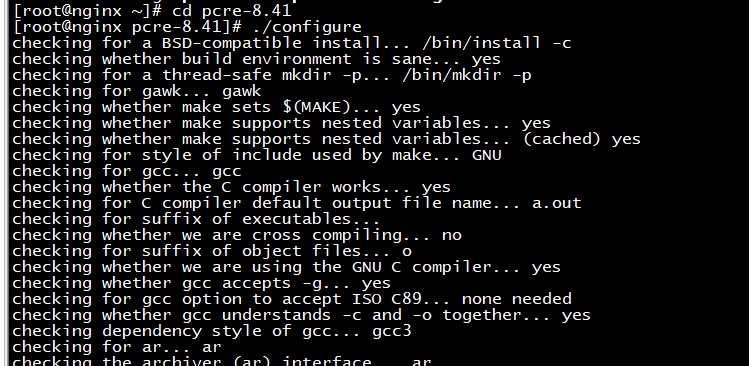
tar zxvf pcre-8.41.tar.gz
cd image.png
./configure
make && make install
pcre-config --prefix


- 安装nginx
cd ..
wget http://nginx.org/download/nginx-1.13.10.tar.gz
tar zxvf nginx-1.13.10.tar.gz
mkdir  nginx
cd nginx-1.13.10
./configure --prefix=/root/nginx --with-http_stub_status_module --with-http_ssl_module --with-pcre=/root/pcre-8.41
make && make install
cd ~
cd nginx/sbin/
./nginx -v
./nginx -t


- 启动nginx
cd ~/nginx/sbin/
./nginx
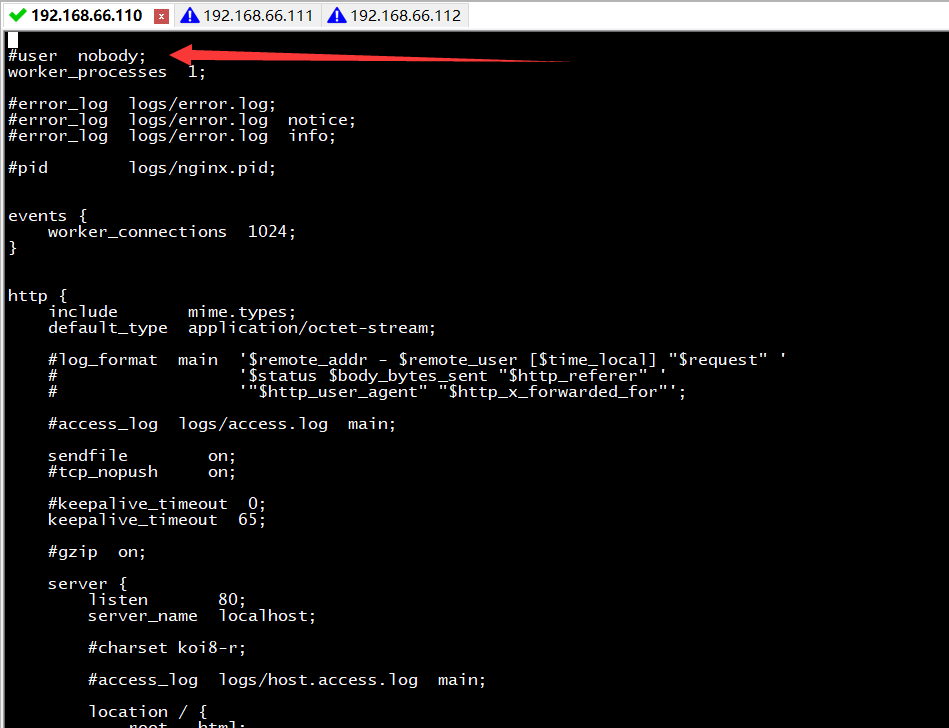
其实没有权限

修改配置文件
vi ~/nginx/conf/nginx.conf
#修改成user root
#wq保存
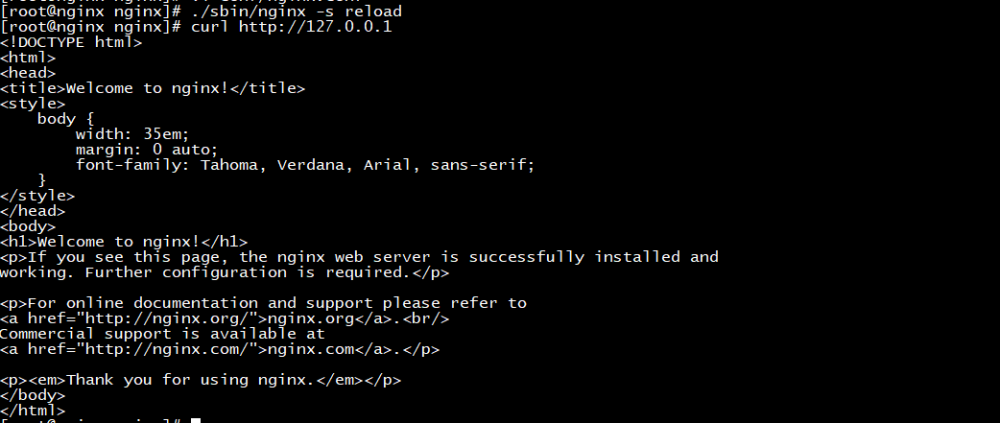
#重新加载nginx新的配置
./sbin/nginx -s reload

- 111 和112 两个机器安装tomcat
java -version
wget http://mirrors.hust.edu.cn/apache/tomcat/tomcat-8/v8.5.37/bin/apache-tomcat-8.5.37.tar.gz
````


``` bash
tar zxvf apache-tomcat-8.5.37.tar.gz
cd apache-tomcat-8.5.37
cd bin
./startup.sh
curl 127.0.0.1:8080
````


* 111 和112 添加一个index.jsp文件方法查看
``` bash
cd /root/apache-tomcat-8.5.37/webapps/ROOT
>index.jsp
vi index.jsp
cat index.jsp
````


###upstream 与location 模块参数与案例讲解(二)
>未来软件其实都是趋于模块化的。拼装完成。
##### upstream
* 官网的介绍
>http://nginx.org/en/docs/

* upstream实例
>http://nginx.org/en/docs/http/ngx_http_upstream_module.html

* upstream 参数
| 参数名称 | 描述 |
| :------: | :--------: |
|service| 反向服务地址 加端口|
|weight |权重|
|max_fails |失败多少次 认为主机已挂掉则,踢出,默认是1次,企业一般配置2到3次,但是电商更加重视用户体验所以就是1次。前提这个机器供给比较多。|
|fail_timeout| 踢出后重新探测时间|
|backup |备用服务|
|max_conns| 允许最大连接数|
|slow_start |当节点恢复,不立即加入|
>修改66.110 那个nginx配置文件
``` bash
vi /root/nginx/conf/nginx.conf
cat /root/nginx/conf/nginx.conf
````


>因为权重相同,所以轮播111 和 112 2个tomcat


*负载均衡算法
1.ll+weight
> 默认的负载算法,其实就是根据权重才分配服务请求。
2.ip_hash
>基于Hash 计算 应用场景:保持session 一至性,第一次访问那台,一直是同一台。hash(ip)%3 =index。弊端小区或者学校集中化的地方,他们出去的ip都是一致的,某个节点负载会非常非常的大。成为热点,有了ip_hash导致weight权重就失效了。
3.url_hash
> (第三方)应用场景:静态资源缓存,节约存储,加快速度
4.least_conn
>最少链接
5.least_time
>最小的响应时间,计算节点平均响应时间,然后取响应最快的那个,分配更高权重。
6.keeplive
>占用连接数。内存消耗比较大,但是响应速度很快,应该保持这socket连接。
* location
1.root
> 后面的配置相当于把浏览器中的输入路径进行了重指
2.index
>在前后端分离的基础上,指定网站初始页
3.proxy_set_header
>用来重定义发往后端服务器的请求头
4.proxy_pass
>如果在proxy_pass后面的url加/,表示绝对根路径;如果没有/,表示相对路径,把匹配的路径部分也给代理走

### 动静分离方案
>一般动静分离两种方式
1. 静态文件放入nginx
2. 静态文件放入指定的服务器,通过请求地址来区别跳转到那个服务器。
* 静态文件放入nginx
``` bash
#思路:动、静态的文件,请求时匹配不同的目录当访问gif,jpeg时 直接访问e:wwwroot;
server {
listen 80;
server_name localhost;
location / {
root e:wwwroot;
index index.html;
}
# 所有静态请求都由nginx处理,存放目录为html
location ~ .(gif|jpg|jpeg|png|bmp|swf|css|js)$ {
root e:wwwroot;
}
# 所有动态请求都转发给tomcat处理
location ~ .(jsp|do)$ {
proxy_pass http://test;
}
error_page 500 502 503 504 /50x.html;
location = /50x.html {
root e:wwwroot;
}
}
-
静态服务器的方式
>多个upstream,多个location, location的名称不一样。
PS:最后来个通俗的说法,你就是大王,我是你的太监,upstream就是后宫,后宫可以有多个,每个后宫里面已经分配好了按照罩杯不同,后宫A全部都是A罩杯,后宫B全部都是B罩杯,后宫里面有很多爱妃,到晚上了大王有需求了,告诉太监,太监根据后宫的情况,按照一定的算法,看看那个爱妃可以进行侍寝,我这个太监就告诉大王,大王就直接去我通过算法的方式告诉他的爱妃哪里。
百度未收录
>>原创文章,欢迎转载。转载请注明:转载自IT人故事会,谢谢!
>>原文链接地址:上一篇:已是最新文章
- 本文标签: 互联网 Service stream wget GitHub 源码 软件 js src session centos root 创业公司 tomcat 百度 创业 IOS 正向代理 java CSS 编译 list zlib lib id 集群 web 时间 db 开发 tar 文章 反向代理 目录 UI ssl 实例 https 企业 网站 Master 2019 rewrite 需求 端口 参数 http 缓存 linux 配置 服务器 HTML git Webapps cat IO 并发 apache IT人 tab 快的 负载均衡 主机 Proxy 安装 Nginx App ip
- 版权声明: 本文为互联网转载文章,出处已在文章中说明(部分除外)。如果侵权,请联系本站长删除,谢谢。
- 本文海报: 生成海报一 生成海报二


![[HBLOG]公众号](https://www.liuhaihua.cn/img/qrcode_gzh.jpg)

