在spring boot中集成微服务网关系统Spring Cloud Zuul
spring cloud zuul由大名鼎鼎的netflix公司开发,已经超越spring cloud gateway微服务网关系统,成为了Spring Cloud全家桶里排名第一的微服务网关系统了
网关作为所有应用系统的最前端,可以提供以下的价值
- 为后端微服务系统提供统一的入口
- 为后端微服务系统提供统一的授权机制
- 为后端微服务系统提供统一的认证机制
- 为后端微服务系统api提供统一签名校验机制
- 为流量入口添加日志记录
- qps统计
- 限流
完整代码已上传GITHUB,参考: github.com/neatlife/my…
创建网关项目
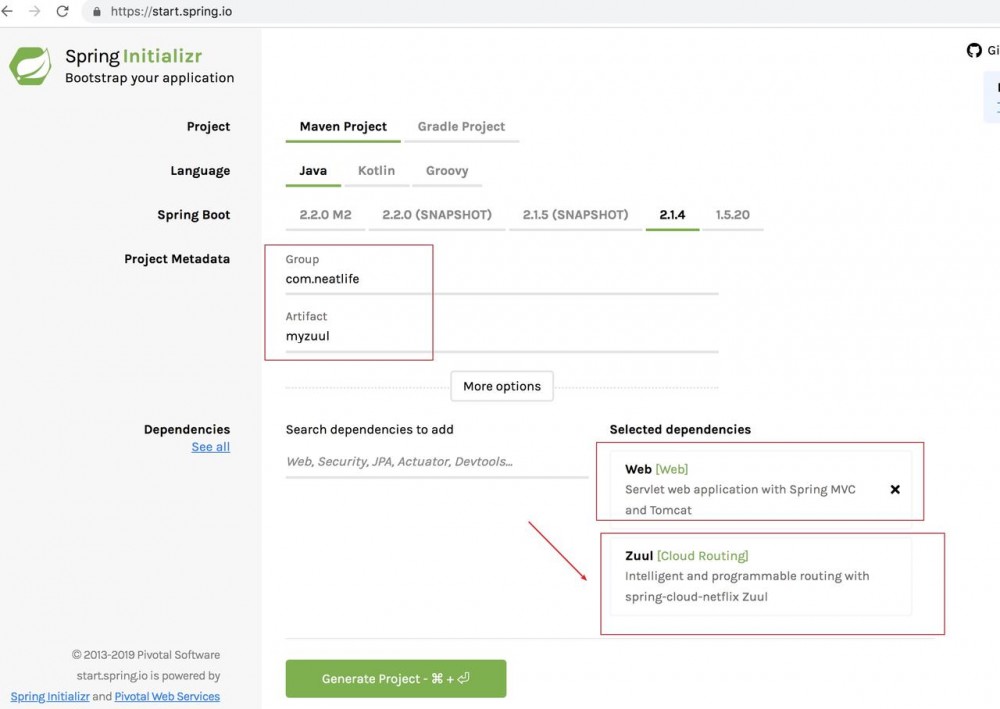
可以在https://start.spring.io/创建新的spring boot项目作为网关的骨架,比如

注意需要把Zuul网关组件添加进来,也可以手动添加,pom依赖如下:
<dependency>
    <groupId>org.springframework.cloud</groupId>
    <artifactId>spring-cloud-starter-netflix-zuul</artifactId>
</dependency>
复制代码
代理后端服务
编辑Spring Boot main方法所在的主类,添加EnableZuulProxy注解,核心代码如下
@SpringBootApplication
@EnableZuulProxy
public class MyzuulApplication {

	public static void main(String[] args) {
		SpringApplication.run(MyzuulApplication.class, args);
	}

}
复制代码
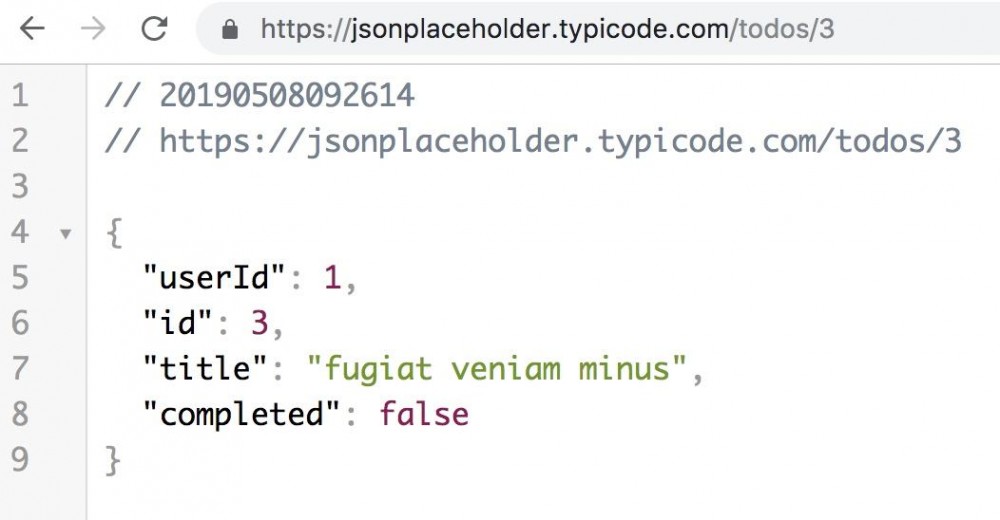
然后在application.properties配置文件中配置代理的后端服务,比如代理这个服务 jsonplaceholder.typicode.com/todos/


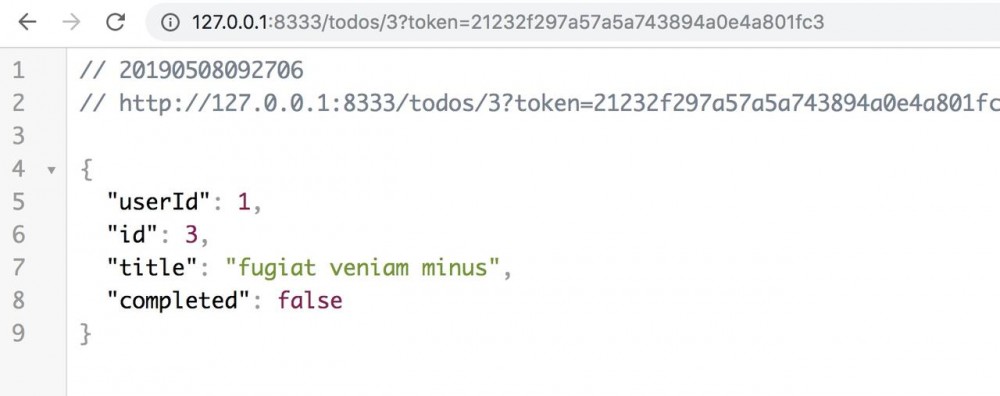
使用zuul代理访问效果如下

可以看到数据是完全一样的,网关只是起到了一个代理的作用
可以结合apollo配置中心实现自动刷新后端路由列表,参考: ZuulPropertiesRefresher.java
核心代码如下:
@ApolloConfigChangeListener(interestedKeyPrefixes = "zuul.")
 public void onChange(ConfigChangeEvent changeEvent) {
   refreshZuulProperties(changeEvent);
 }

 private void refreshZuulProperties(ConfigChangeEvent changeEvent) {
   logger.info("Refreshing zuul properties!");

   /**
    * rebind configuration beans, e.g. ZuulProperties
    * @see org.springframework.cloud.context.properties.ConfigurationPropertiesRebinder#onApplicationEvent
    */
   this.applicationContext.publishEvent(new EnvironmentChangeEvent(changeEvent.changedKeys()));

   /**
    * refresh routes
    * @see org.springframework.cloud.netflix.zuul.ZuulServerAutoConfiguration.ZuulRefreshListener#onApplicationEvent
    */
   this.applicationContext.publishEvent(new RoutesRefreshedEvent(routeLocator));

   logger.info("Zuul properties refreshed!");
 }
复制代码
过滤器系统
| 过滤器类型 | 过滤器执行时机 | 常见用法 |
|---|---|---|
| PRE | 在请求被路由之前调用 | 比如记录请求参数,认证 |
| ROUTING | 将请求路由到后端 | 比如请求dubbo搭建的后端服务 |
| POST | 在请求被路由之后调用 | 比如记录响应数据 |
| ERROR | 发生错误时执行该过滤器 | 比如给前端返回统一的报错json格式 |
web 系统
这个网关系统本身也是一个完整spring boot项目 可以编写控制器api,调用hibernate操作数据库等 比如在网关里编写登陆功能实现统一的授权功能
授权与认证
授权一般在网关里的控制器里实现授权的逻辑,授权一般可以指代登陆操作 认证一般在网关里的前置过滤器里实现,一般是检查是否登陆来决定是否允许访问网关后面的服务
网关登陆接口编写思路
流程代码如下
@PostMapping("/login")
public String login(@RequestParam(name = "username") String username,
                    @RequestParam(name = "password") String password
) {

    String token;

    // 到数据中检查用户名和密码是否合法
    if ("admin".equals(username) && "admin".equals(password)) {
        // 生成token,保存到redis中
        token = "21232f297a57a5a743894a0e4a801fc3";
    } else {
        throw new RuntimeException("用户名或密码错误");
    }

    // 返回token给前端,用来认证使用
    return token;
}

复制代码
认证流程
使用pre类型的过滤器 流程代码如下
/**
 * 认证
 */
@Slf4j
public class CertificationFilter extends ZuulFilter {

    @Override
    public Object run() {
        HttpServletRequest request = RequestContext.getCurrentContext().getRequest();
        // 到redis中检查token是否存在
        if  ("21232f297a57a5a743894a0e4a801fc3".equals(request.getParameter("token"))) {
            return null;
        }
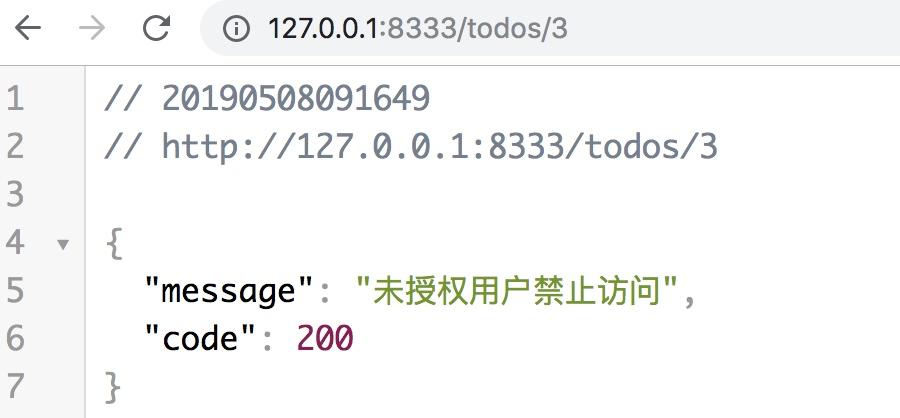
        throw new ZuulRuntimeException(new ZuulException("未授权用户禁止访问", 403, "token校验失败"));
    }

    @Override
    public boolean shouldFilter() {
        return true;
    }

    @Override
    public int filterOrder() {
        return 0;
    }

    @Override
    public String filterType() {
        return FilterConstants.PRE_TYPE;
    }
}
复制代码
就是普通的登陆接口,不过是把这个逻辑放到了网关里面
将请求的参数记录到日志
这样做的目的是在异常时可以通过日志找到请求参数 编写一个过滤器,获取请求参数并记录到日志中,核心代码如下
@Override
public Object run() {
    HttpServletRequest request = RequestContext.getCurrentContext().getRequest();
    Map<String, Object> parameters = getParametersFromRequest(request);
    log.info("网关有新的访问, url: {}, method: {}, parameters: {}", request.getRequestURL(), request.getMethod(), parameters);
    return null;
}

private Map<String, Object> getParametersFromRequest(HttpServletRequest request) {
    Enumeration<?> parameterNames = request.getParameterNames();
    Map<String, Object> parameters = new HashMap<>(16);
    while (parameterNames.hasMoreElements()) {
        String pName = (String) parameterNames.nextElement();
        Object pValue = request.getParameter(pName);
        parameters.put(pName, pValue);
    }
    return parameters;
}
复制代码
完整代码参考:
统一错误返回格式
使用error过滤器可以实现 核心代码如下
@Slf4j
public class CustomErrorFilter extends ZuulFilter {

    @Override
    public Object run() {
        RequestContext ctx = RequestContext.getCurrentContext();
        // Remove error code to prevent further error handling in follow up filters
        ctx.remove("error.status_code");
        // block the SendErrorFilter from running
        ctx.set("sendErrorFilter.ran");

        ctx.setSendZuulResponse(false);
        ctx.getResponse().setContentType("application/json");
        ctx.getResponse().setCharacterEncoding("utf-8");
        ctx.getResponse().setHeader("Access-Control-Allow-Origin", "*");
        ctx.getResponse().setHeader("Access-Control-Allow-Methods", "*");
        ctx.getResponse().setHeader("Access-Control-Allow-Age", "86400");
        ctx.getResponse().setHeader("Access-Control-Allow-Headers", "*");
        ctx.setResponseStatusCode(200);
        StringWriter sw = new StringWriter();
        ctx.getThrowable().printStackTrace(new PrintWriter(sw, true));
        try {
            ZuulException zuulException = (ZuulException) ctx.getThrowable().getCause().getCause();

            ctx.getResponse().getWriter().write(
            "{/"message/": /"" +
                    zuulException.getMessage() +
                    "/", /"code/" :" +
                    zuulException.nStatusCode
                    + "}"
            );
        } catch (Exception e) {
            log.error("写入异常到客户端异常, estring: {}", e.toString());
        }
        return null;
    }

    @Override
    public boolean shouldFilter() {
        return true;
    }

    @Override
    public int filterOrder() {
        return -1;
    }

    @Override
    public String filterType() {
        return FilterConstants.ERROR_TYPE;
    }

}
复制代码
注意需要加上以下设置
// 阻止别的错误处理过滤器再次对错误进行处理
ctx.remove("error.status_code");
// 阻止别的发送错误的过滤器对错误响应结果再次进行处理
ctx.set("sendErrorFilter.ran");
复制代码
在浏览器中查看效果

zuul设置与调优
常用的调优参数如下:
连接池最大连接,默认是200 zuul.host.maxTotalConnections=1000
每个route可用的最大连接数,默认值是20 zuul.host.maxPerRouteConnections=1000
Hystrix最大的并发请求 默认值是100 zuul.semaphore.maxSemaphores=1000
hystrix熔断设置与调优
网关属于整个系统最前端的应用,同时又属于基础服务,和redis, mysql等基础服务一样,一般是不允许宕机的,可用性应该得到保证,保证可用性常用的技术就是使用降级熔断技术hystrix了
Hystrix 超时时间配置 配置默认的hystrix超时时间
hystrix.command.default.execution.isolation.thread.timeoutInMilliseconds=10000
复制代码
配置特定方法的超时时间
hystrix.command.<hystrixcommandkey>.execution.isolation.thread.timeoutInMilliseconds=10000
复制代码
的format为FeignClassName#methodSignature,下面是示例配置
hystrix.command.PressureService#getBalance(int).execution.isolation.thread.timeoutInMilliseconds=10000
复制代码
一些注意的点
可以在前置过滤器中校验接口的签名,参考:简单API接口签名验证
网关里面登陆的用户需要和其它服务共享用户的登陆信息,可以把用户的信息存放到redis中进行共享
如果在开发过程中遇到问题,可加作者微信探讨

- 本文标签: IO map 时间 Netflix 开发 微服务 java message js redis springboot value equals 统计 pom ORM sql 代码 Feign 参数 限流 spring ACE https 数据 Spring Boot key HashMap src tab bean cat GitHub Spring cloud REST QPS mysql Word git id UI json 配置中心 Connection Semaphore 认证 constant 数据库 API token onchange Proxy 排名 servlet MQ 配置 App zuul dubbo 并发 web Service tar IDE Hystrix list 连接池 http
- 版权声明: 本文为互联网转载文章,出处已在文章中说明(部分除外)。如果侵权,请联系本站长删除,谢谢。
- 本文海报: 生成海报一 生成海报二


![[HBLOG]公众号](https://www.liuhaihua.cn/img/qrcode_gzh.jpg)

