zxhtom框架开源啦--springboot搭建
[TOC]
<font color="red" size="8"> 开源位置 </font>
springboot基于spring和mvc做了很多默认的封装。这样做的好处极大的方便了开发者的效率。尽管与此我们每个人还是需要有一些自己个人的脚手架。方便我们秒级搭建项目。此项目就是基于次为出发点进行了企业的规范设置。
项目介绍
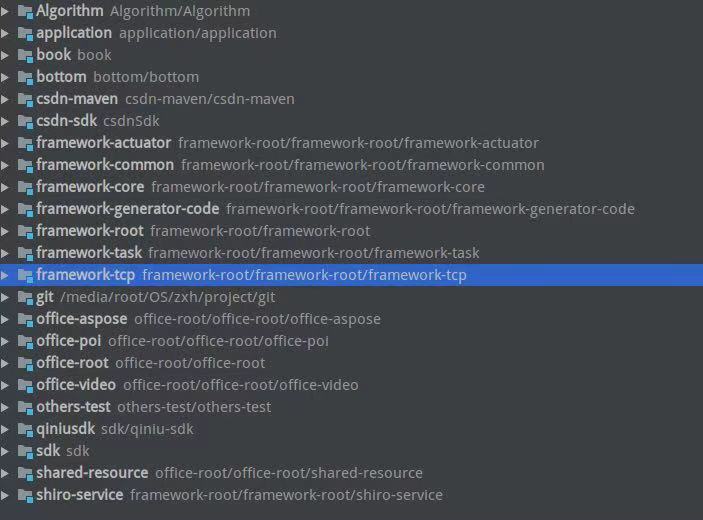
基于Spring + SpringMVC + Mybatis敏捷开发的一套系统框架。 zxhtom 目前是针对管理端进行封装的一个架构。里面内置的页面也是为了方便管理和开发的。但是架构上预留出前后分离的方案。次架构所有的设计都与前后分离思想耦合。 shiro-service 模块就可以用来做单点登录。只不过在架构中他不仅仅是单点登录的功能。他的作用是对第三方服务的一个模块。它可以将系统中的接口通过注解讲接口发布给第三方。就是支付宝、微信等目前推出的商户功能。既然是架构眼观就得放远点。万一实现了呢。
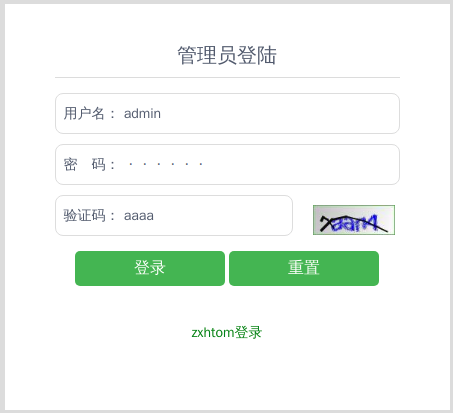
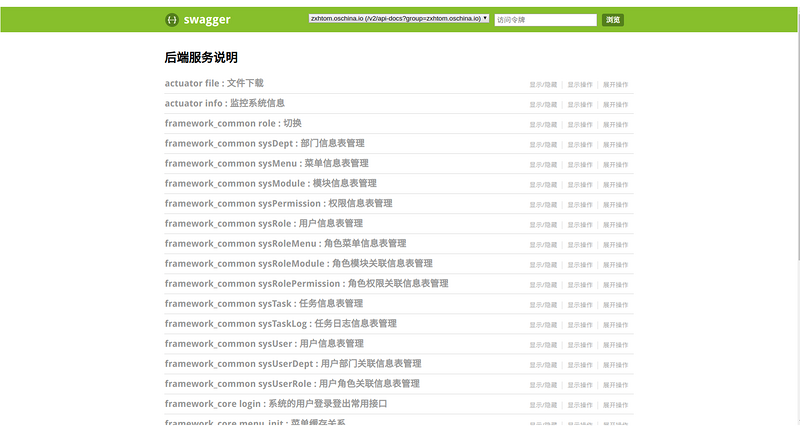
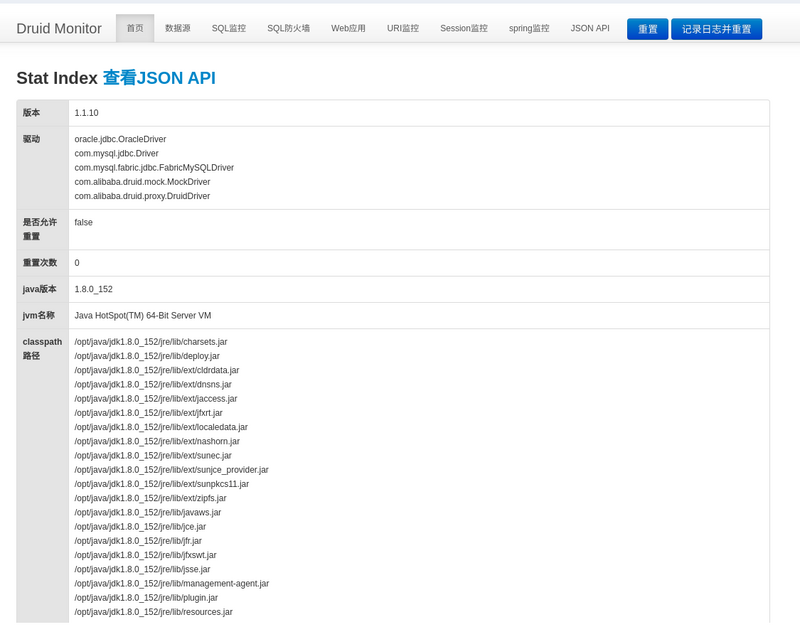
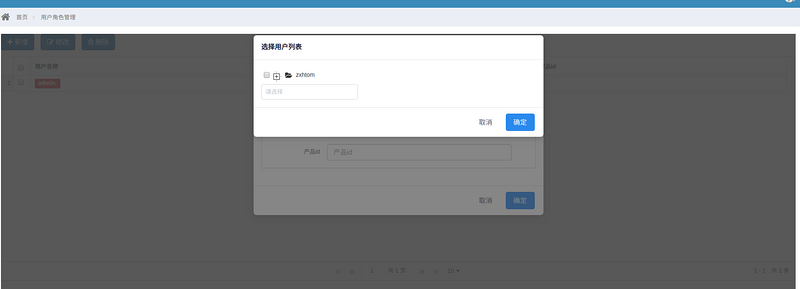
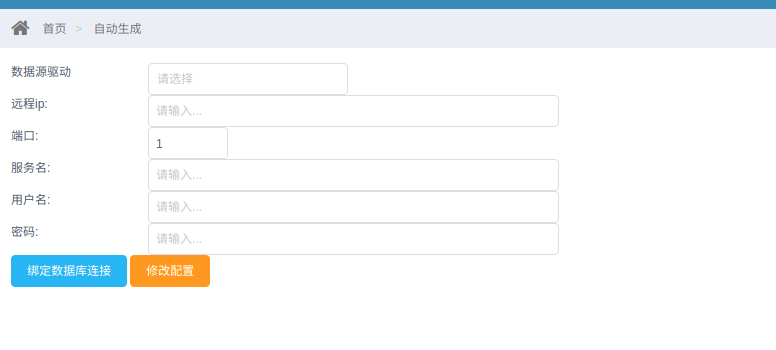
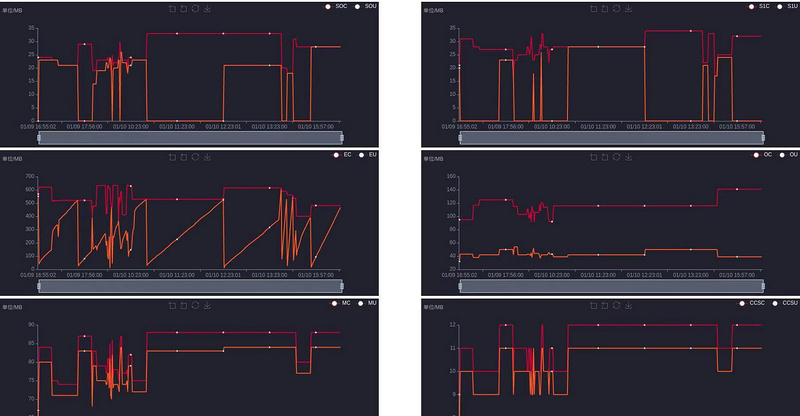
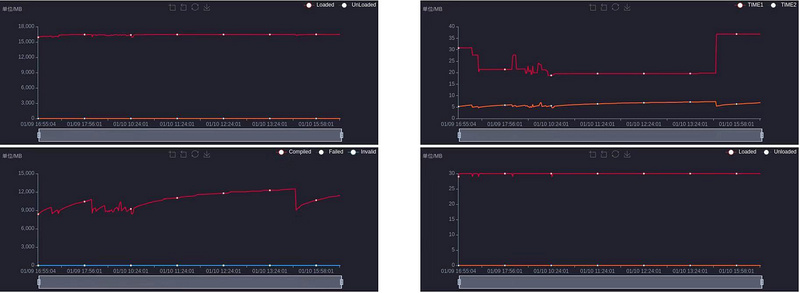
除此之外架构还提供了 数据自动生成 、 定时任务 、 系统监控 、 用户管理 、 日志管理 等模块。技术点包含 redis集群和单机 、 验证码功能 、 双数据源 、 接口规范 、 swagger 、 druid 、 websocket 等等。
通过次脚手架简化了项目的配置。只需要引入
<dependencies>
    <dependency>
        <groupId>com.github.zxhTom</groupId>
        <artifactId>framework-root</artifactId>
        <version>${framework.version}</version>
        <type>POM</type>
        <scope>IMPORT</scope>
    </dependency>
    <dependency>
        <groupId>com.github.zxhTom</groupId>
        <artifactId>framework-core</artifactId>
        <version>${framework.version}</version>
    </dependency>
</dependencies>
这两个jar。然后项目中建立springboot启动类就行了。这里需要在启动类上添加扫包注解。包路径至少得包含 com.zxhtom .因为我的脚手架都是在com.zxhtom包下进行开发的。
其他的细节配置就是在application.yml中配置了。这里zxhtom提供一个配置模板(在framework-core模块中的application_back.yml)
关于配置里面说明。后续会出详细文档说明。
环境搭建
开发工具
- idea开发代码
- navicat操作数据库
- git管理代码
- nginx配置反向代理
- powerdesigner设计数据库及反向管理
- tomcat服务发布
- plsql操作oracle数据库
- Google浏览器
开发环境
- JDK8+
- Mysql5.7+
- Redis
- RabbitMQ
- Zookeeper
- Dubbo-admin
- Dubbo-monitor
- Tomcat8+
- Oracle12+
- Nginx
工具安装
- 关于安装就是idea存在破解,这里可以入群咨询。其他的服务都是用docker安装的。有需要的小伙伴可以私信我。根据情况会整理docker使用手册。后续项目也会发布成docker和上传至maven中央仓库
ps : 因为项目中用到的某些jar包因为种种原因中央仓库还没进行更新。所以这里为了保证项目能够正常的运行。运行读者自己手动安装至本地仓库
jar下载地址 (提取码:k1ne)
bottom项目在线clone地址
至于手动安装至本地仓库命令 mvn install:install-file -Dfile={Path/to/your/ojdbc.jar} -DgroupId=com.oracle -DartifactId=ojdbc6 -Dversion=11.2.0 -Dpackaging=jar
系统架构

启动项目
package com.zxhtom;

import com.zxhtom.config.CoreConfig;
import com.zxhtom.config.QuickStartConfig;
import com.zxhtom.config.SpringfoxConfig;
import com.zxhtom.config.WebMvcConfig;
import com.zxhtom.framework_task.conf.TaskConfig;
import org.springframework.boot.SpringApplication;
import org.springframework.boot.autoconfigure.SpringBootApplication;
import org.springframework.cache.annotation.EnableCaching;
import org.springframework.context.annotation.ComponentScan;
import org.springframework.context.annotation.Import;

/**
 * 入口类, 扫描并注入其他配置类和服务
 */
@SpringBootApplication
@EnableCaching
@ComponentScan("com.zxhtom")
@Import({QuickStartConfig.class,CoreConfig.class,TaskConfig.class,WebMvcConfig.class,SpringfoxConfig.class})
public class Application {
    public static void main(String[] args) {
        SpringApplication.run(Application.class, args);
    }

}




<font color="red" size="8"> 开源位置 </font>
<span id="addMe">加入战队</span>
微信公众号

- 本文标签: src 自动生成 反向代理 root https 安装 IDE SpringMVC MySQL5 Service JDBC web git sql redis 敏捷 企业 微信公众号 rabbitmq spring tomcat zookeeper 数据 Docker dubbo 下载 springboot mysql 集群 开发者 App 开源 PowerDesigner id pom cat UI 代码 开发 http MQ maven 数据库 支付宝 GitHub dependencies ask IO db Oracle 系统架构 Google core cache druid Nginx tar 配置 管理 mybatis
- 版权声明: 本文为互联网转载文章,出处已在文章中说明(部分除外)。如果侵权,请联系本站长删除,谢谢。
- 本文海报: 生成海报一 生成海报二


![[HBLOG]公众号](https://www.liuhaihua.cn/img/qrcode_gzh.jpg)

